

This article will provide a straightforward and swift guide on how to move Overwatch to SSD. We will guide you through the process with clear steps and explanations and ensure you can successfully move the game to your SSD for improved performance and faster loading times.

To transfer Overwatch to an SSD, the following steps should be followed: first, backup all game files, then uninstall Overwatch from the hard drive. Next, install the SSD and then install Overwatch on it. Finally, update game settings to guarantee that Overwatch runs smoothly on the SSD.
Staying with us to learn how to move Overwatch to an SSD will give you a faster and smoother gaming experience. The faster loading times and improved performance will enhance your overall gameplay and make a more enjoyable experience. Additionally, by the end of this guide, you will better understand how to transfer games and files to an SSD. So, if you want to improve your Overwatch experience, stick around and read on!
Introduction to Overwatch
Blizzard Entertainment created and released the wildly successful first-person shooter game Overwatch. It requires considerable storage space to run smoothly and deliver a high-quality gaming experience. Get the answer to every question of overwatch here! As a result, many gamers opt to move the game to a Solid-State Drive (SSD) to boost performance and reduce loading times. This article will provide a step-by-step guide to help you move Overwatch to SSD, making your gaming experience faster and more enjoyable.
Why Move Overwatch to SSD
Moving Overwatch to another drive can have several benefits, such as freeing up space on the original drive and improving performance:
Faster Loading Times
SSDs outperform conventional Hard Disk Drives regarding read and write speeds (HDD). This means the game will load faster, reducing the time you spend waiting for the game to start and increasing the time you spend playing.
Improved Performance
By moving Overwatch to an SSD, you will also experience improved performance during gameplay. The faster read and write speeds of an SSD allow the game to access and load data more quickly, leading to smoother and more responsive gameplay.
Increased Storage Space
Moving Overwatch to an SSD frees up space on your primary hard drive.

This enables you to store other files and programs.
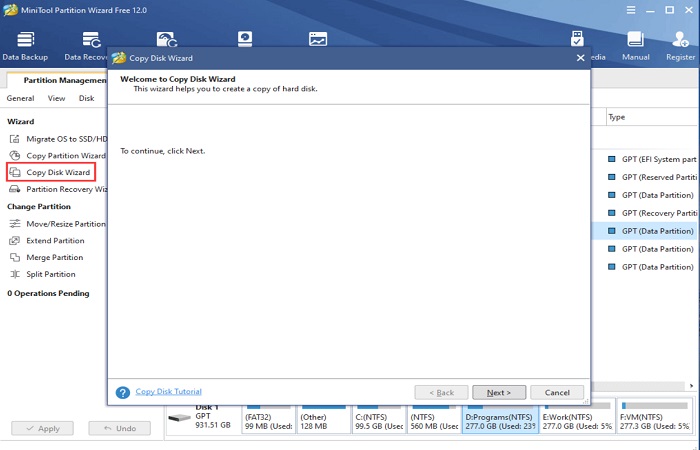
Step-by-Step Guide to Moving Overwatch to SSD
This section will provide a step-by-step guide to help you move Overwatch to SSD. Ensure you always have the following things before you start: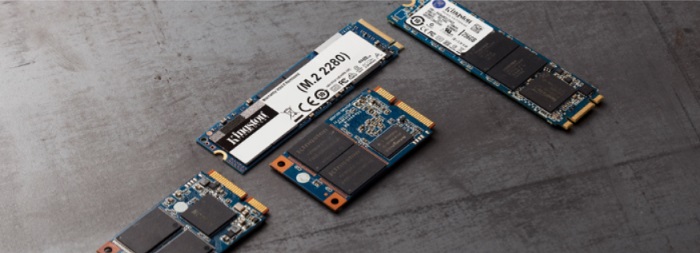
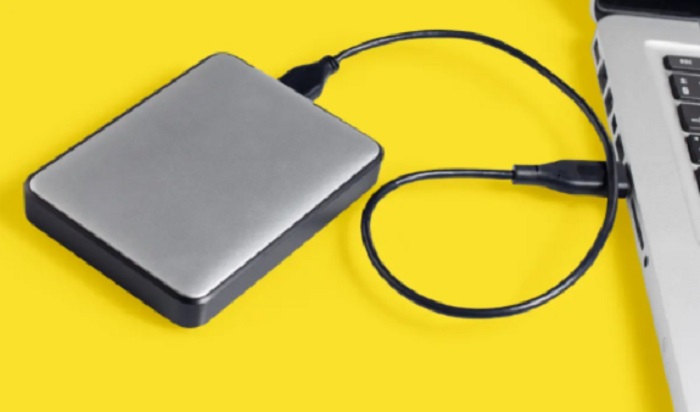
- An SSD with enough storage to accommodate the game files
- 8 GB or more of storage capacity on a USB stick
- A computer with an available SATA port for the SSD
See Also: How To Get Free Pokémon Go Accounts | Updated 2024
Backup Your Game Files
Before moving Overwatch to an SSD, it’s essential to back up your game files to prevent any data loss during the transfer process. Follow these steps to accomplish this:
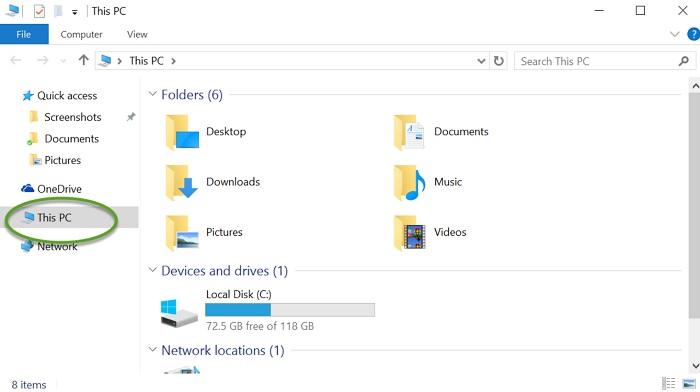
- Open File Explorer and navigate to the Overwatch installation directory. This is typically in “C:\Program Files (x86)\Overwatch.”
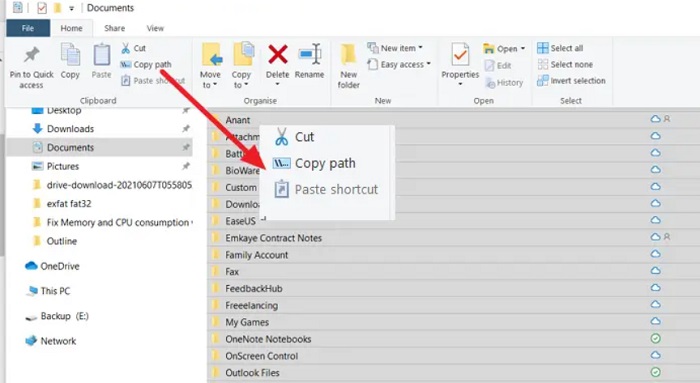
2. Choose “Copy” from the context menu when right-clicking upon this Overwatch folder.
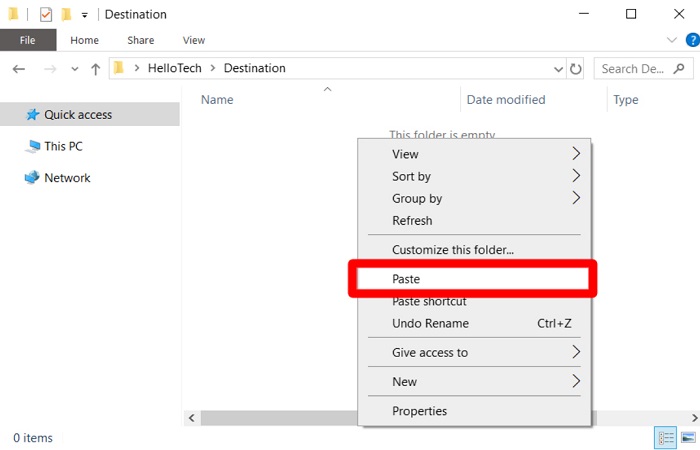
3. Navigate to your USB drive and right-click on a space. Select “Paste.“
4. Wait for the game files to copy to the USB drive. This process may vary in duration, depending on the size of your Overwatch installation and the speed of the USB drive.
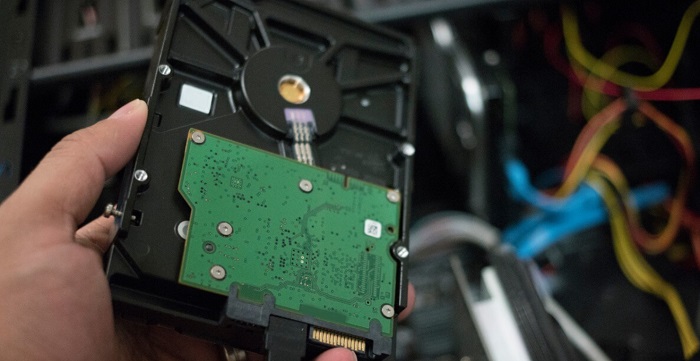
Uninstall Overwatch from Your Hard Drive
Once you have backed up your game files, the next step is to uninstall Overwatch from your hard drive. Follow these steps to accomplish this:
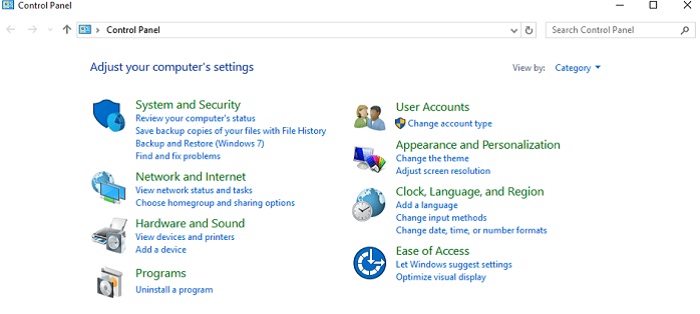
- Start by selecting “Control Panel” from the Start menu.
2. “Programs and Features” should be selected.
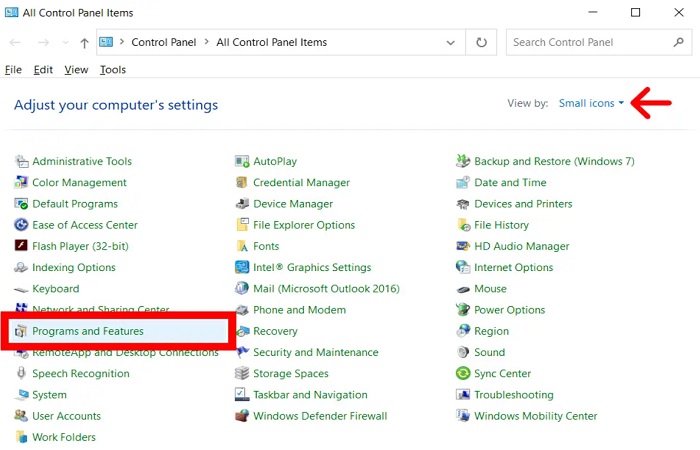
3. Right-click on Overwatch inside the list of downloaded apps to choose it. Select “Uninstall.“
4. Follow the prompts to uninstall Overwatch from your hard drive.
Install the SSD
The next step is to install the SSD on your computer. For further instructions, refer to your computer’s handbook because this procedure will differ based on the brand and type of your computer. In general, the process involves:
- Opening your computer’s case to access the motherboard.
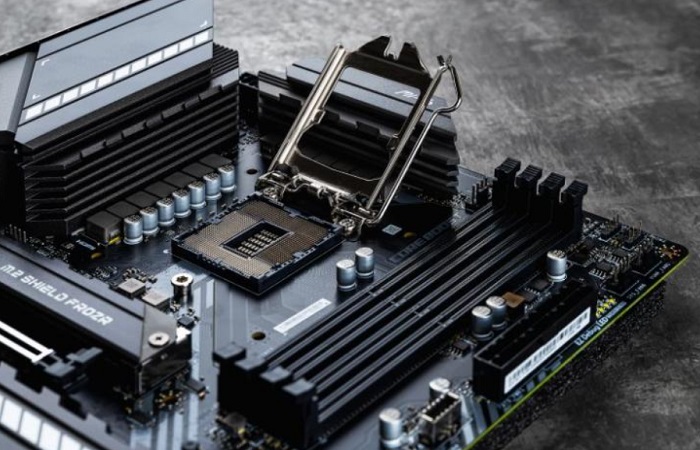
2. Removing the existing hard drive from the SATA port.
3. Connecting the SSD to the SATA port.
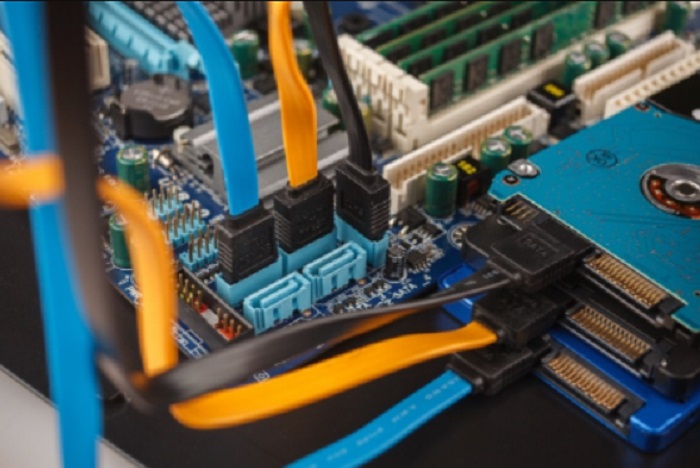
4. Closing the computer’s case and securing any screws.
See Also: How To Get Free PUBG Accounts In 2024
Install Overwatch on the SSD
Connect the USB drive containing the backup game files to your computer. Once the SSD is installed, you can now install Overwatch on SSD. Follow these steps to accomplish this:
- Connect the USB drive containing the backup game files to your computer.
2. Copy the Overwatch folder from the USB drive to the SSD.
3. Navigate to the copied Overwatch folder on the SSD and double-click the “Setup” file to start the installation process. Follow the prompts to install Overwatch on the SSD. Once the installation is complete, launch Overwatch to ensure it is running correctly.
Update the Game Settings
Finally, you must update the game settings to ensure Overwatch runs correctly on the SSD. Follow these steps to accomplish this:
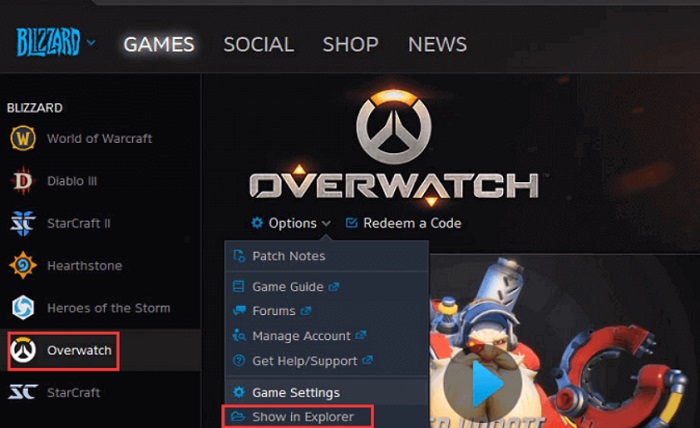
- Start Overwatch. Select “Options” from the menu.

2. Select “Game Settings” from the tabs.
3. Locate the “Game Install Location” section and select the SSD as the install location for Overwatch.

4. Save the modifications, then quit the game.
FAQs
Why do I need to transfer Overwatch to a different drive?
Your gaming experience may be enhanced by learning to move Overwatch to another drive since it will speed up the performance, decrease loading times, and free up space on your main hard disc. An SSD has faster read and write speeds than a traditional hard disk drive, resulting in smoother and faster gameplay.
How much Overwatch hard drive space do I need on my SSD to install the game?
The size of the Overwatch game files varies, but it typically requires at least 30 GB of storage space. It is recommended to have an SSD with at least 50 GB of storage space to allow for additional games and files to be stored on the drive.
What do I need to move Overwatch to an SSD?
You will need the following items to move Overwatch to SSD: An SSD with sufficient storage space A USB drive with at least 8 GB of storage space A computer with an available SATA port for the SSD
How do I back up my Overwatch game files before moving them to an SSD?
To back up your Overwatch game files, follow these steps: Open File Explorer and navigate to the Overwatch installation directory (Typically located in 'C:Program Files (x86)Overwatch'). Right-click on the Overwatch folder and select 'Copy.' Navigate to your USB drive and right-click on a space. Select 'Paste.' Wait for the game files to copy to the USB drive.
Do I need to uninstall Overwatch from my hard drive before moving it to an SSD?
It is recommended to uninstall Overwatch from your hard drive before moving it to an SSD. This ensures that the game files are not corrupted or overwritten during the transfer process.
How do I install the SSD on my computer?
Installing an SSD in your computer will vary depending on your computer's make and model. The process generally involves opening your computer's case, removing the existing hard drive, connecting the SSD to a SATA port, and closing the computer's case. Consult your computer's manual for specific instructions on how to install an SSD.
How do I install Overwatch on the SSD?
To install Overwatch on the SSD, follow these steps: Connect the USB drive containing the backup game files to your computer. Copy the Overwatch folder from the USB drive to the SSD. Navigate to the copied Overwatch folder on the SSD and double-click the 'Setup' file to start the installation process. Follow the prompts to install Overwatch on the SSD. Once the installation is complete, launch Overwatch to ensure it is running correctly.
How do I update the game settings after moving Overwatch to the SSD?
To update the game settings, follow these steps: Launch Overwatch. Go to the 'Options' menu. Click on the 'Game Settings' tab. Locate the 'Game Install Location' section and select the SSD as the install location for Overwatch. Save the changes and exit the game.
Conclusion
Moving Overwatch to an SSD can significantly improve your gaming experience by reducing loading times, improving performance, and freeing up space on your primary hard drive. The steps in this guide allow for a fast and easy move of Overwatch to an SSD, resulting in a better and smoother gaming experience.
About the Author
Gemma: Staff writer at FreeAccountsOnline, Journalism graduate from Leeds Beckett University. Covers breaking news, reviews, including world’s worst Steam games.
Discover more from FreeAccountsOnline
Subscribe to get the latest posts sent to your email.